

FAQS
ABOUT PRODUCT
How is By Elle different from other product?
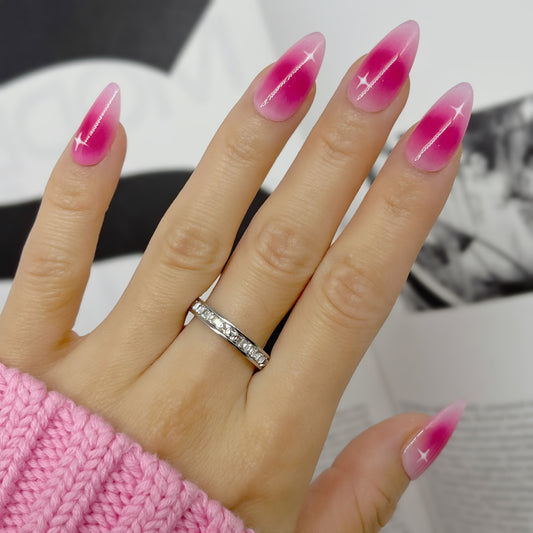
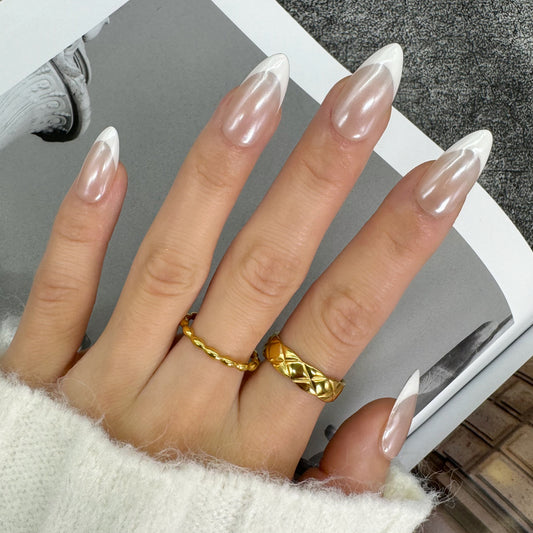
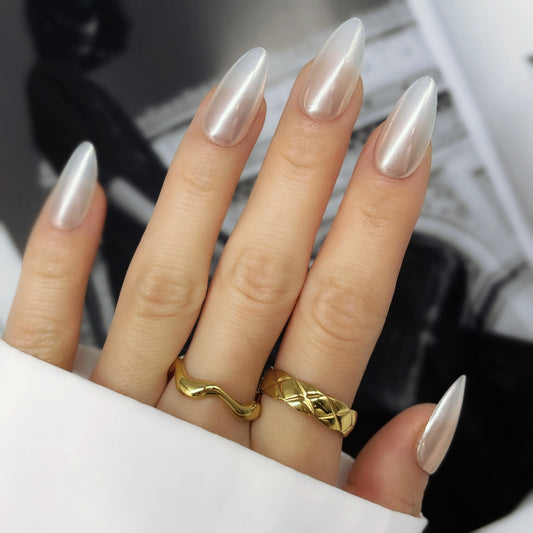
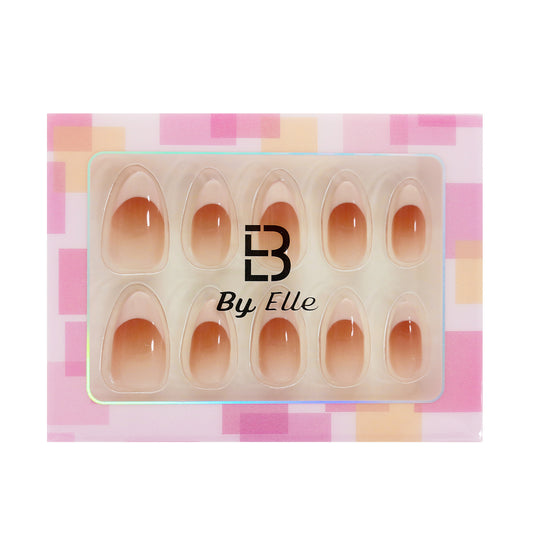
1. Each nail is individually handmade and hand-painted, ensuring top quality and longer-lasting durability.
2. When you receive them, you'll notice that our handmade nails belong to salon-grade quality, presenting a significant contrast to machine-made nails. Machine-made nails typically feature limited designs, simplified craftsmanship, and a cheaper quality, resulting in a shorter lifespan.
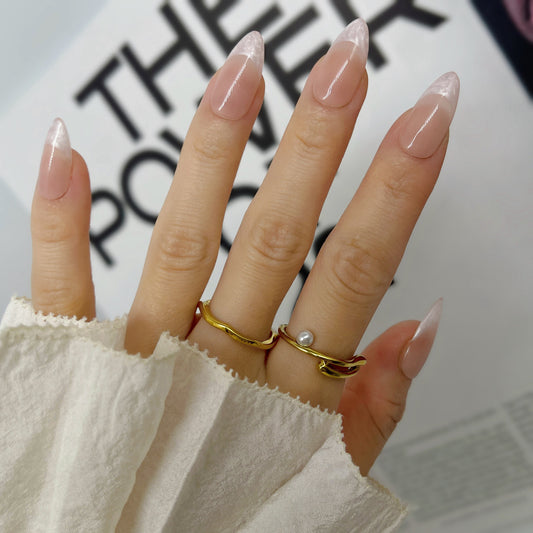
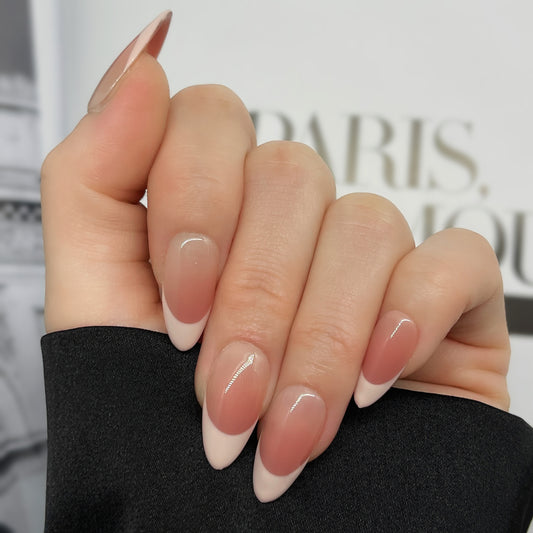
3. They look incredibly natural on the hand, devoid of any plastic-like feel.
How do I know what size to order?
1. Place transparent tape over the length and curve of your nail bed.
2. Use marker to mark where the tape meets the side walls and form a crease.
3. Place tape on a fat surface and measure the distance between the two marks
4. Find the correct size in the SIZING CHART.
Can I reuse them?
Absolutely!
Please ensure that you remove any leftover glue and adhesive tabs from the nails before reusing them.
How long do they last?
Our products can stay on for 4-7 days or longer if you use adhesive tabs, what's more, there're 48 adhesive tabs in each set for you to replace when the Press-Ons fall off accidentally. And if you use glue, they can stay on about 2 weeks.
However, the specific use time will be different according to the activity of each person. If you use your nails frequently for activities or work, medium or short nails may be more suitable.
How do I wear or remove them?
WEARING
Step 1: Clean and Buff the Nails
Start by washing your hands thoroughly with soap and water to remove any dirt, oil, or residue from your natural nails.
Using a nail file, gently shape your nails to your desired length and shape.
Buff the surface of your nails lightly with a buffer or a fine-grit nail file. This helps to remove any remaining oils and create a smooth surface for better adhesion of the press-on nails.
Step 2: Stick the Nails
Select the appropriately sized press-on nails for each of your natural nails. Lay them out in the order you plan to apply them for easy access.
Apply a small amount of nail glue to the back of the press-on nail or directly onto your natural nail. Be careful not to use too much glue, as it can cause the press-on nail to slide or create excess mess.
Align the press-on nail with your natural nail, making sure to position it close to the cuticle without touching it. Press down firmly to ensure proper adhesion.
Repeat this process for each nail, working one nail at a time to prevent the glue from drying before you can apply the press-on nail.
Step 3: Press and Hold for 15 Seconds
After applying each press-on nail, firmly press down on the nail for about 15 seconds to secure it in place.
Pay special attention to the edges and corners of the press-on nail, ensuring they are securely bonded to your natural nail.
If any excess glue seeps out from the sides, gently wipe it away with a cotton swab or a nail polish remover pad.
Once all the press-on nails are applied, avoid any activities that may put excessive pressure on your nails for at least an hour to allow the glue to fully cure.
Additional Tips:
If you prefer, you can also use adhesive tabs instead of nail glue for a temporary application of press-on nails.
To extend the wear time of your press-on nails, you can apply a clear top coat over the entire nail to seal the edges and add extra durability.
If any press-on nails become loose or start to lift, you can reapply a small amount of nail glue to secure them back in place.
REMOVAL
Step 1: Soak in Water for 10 Minutes
Fill a bowl or basin with warm water. Make sure the water is comfortably warm, but not too hot to avoid discomfort.
Submerge your hands, focusing on the area where the press-on nails are attached.
Allow your nails to soak for approximately 10 minutes. This helps to soften the adhesive used to attach the press-on nails.
Step 2: Use the Stick to Lift It Up
After soaking, carefully remove your hands from the water and pat them dry with a towel.
Take a wooden cuticle stick or an orangewood stick. These are often included in press-on nail kits.
Gently insert the edge of the stick underneath the edge of one of the press-on nails. Be careful not to press too hard to avoid damaging your natural nails.
Slowly and delicately move the stick back and forth, loosening the adhesive bond between the press-on nail and your natural nail. Continue this process around the entire perimeter of the press-on nail until it feels sufficiently loosened.
Step 3: Pull Gently and Remove
Once you've loosened the press-on nail with the stick, use your fingers to gently pull the nail away from your natural nail.
Apply gentle pressure while pulling to avoid any discomfort or damage to your natural nails.
If the press-on nail does not come off easily, do not force it. Repeat the soaking process for a few more minutes to further soften the adhesive, then try again.
Continue this process for each press-on nail until they are all removed.
Additional Tips:
If you encounter resistance or discomfort during the removal process, stop immediately and seek assistance from a professional nail technician.
Avoid using metal tools such as tweezers or metal cuticle pushers to remove press-on nails, as these can damage your natural nails.
After removing the press-on nails, moisturize your nails and cuticles to help replenish moisture lost during the removal process.
Could I change the length or shape of them?
We intentionally crafted our press-on nails in medium sizes to give you the flexibility to customize them to your liking. You can easily achieve your desired look by trimming and filing the nails if you prefer a shorter length or a different nail shape. When modifying press-on nails, please be careful and go slowly to avoid damaging them.
ABOUT ORDER & SHIPPING
Can I cancel my order?
We might accommodate changes or cancellations to your order if you inform us via email at contact@byelle.com.au within 2 hours of placing the order, and prior to the order being dispatched by the warehouse.
Once you receive the email confirming that your order has been shipped, no modifications or cancellations will be possible. However, upon receiving your order, you are more than welcome to initiate a return, as long as your items meet the criteria outlined in our return policy.
How do I track my order?
Once your order has been shipped, you'll receive an email containing tracking information, allowing you to conveniently monitor your package's journey. If you haven't received a shipping confirmation email within a few days of placing your order, please check your spam folder. Feel free to contact us if you have any inquiries!
Can I edit my order?
Once an order is placed, our distribution center swiftly initiates processing, making it challenging to make alterations thereafter. Should you need assistance, please don't hesitate to contact us at contact@byelle.com.au, and we'll endeavor to assist you as best we can.
I’m missing an item in my order, please help.
Please be advised that your order might be delivered in multiple packages. Additional tracking details for your items will be provided to you via email.